Moving on with our "where things are at after one year" posts, the weather was beautiful this past weekend so it only made sense to spend as much time as we could outside getting things cleaned up and ready for fall.
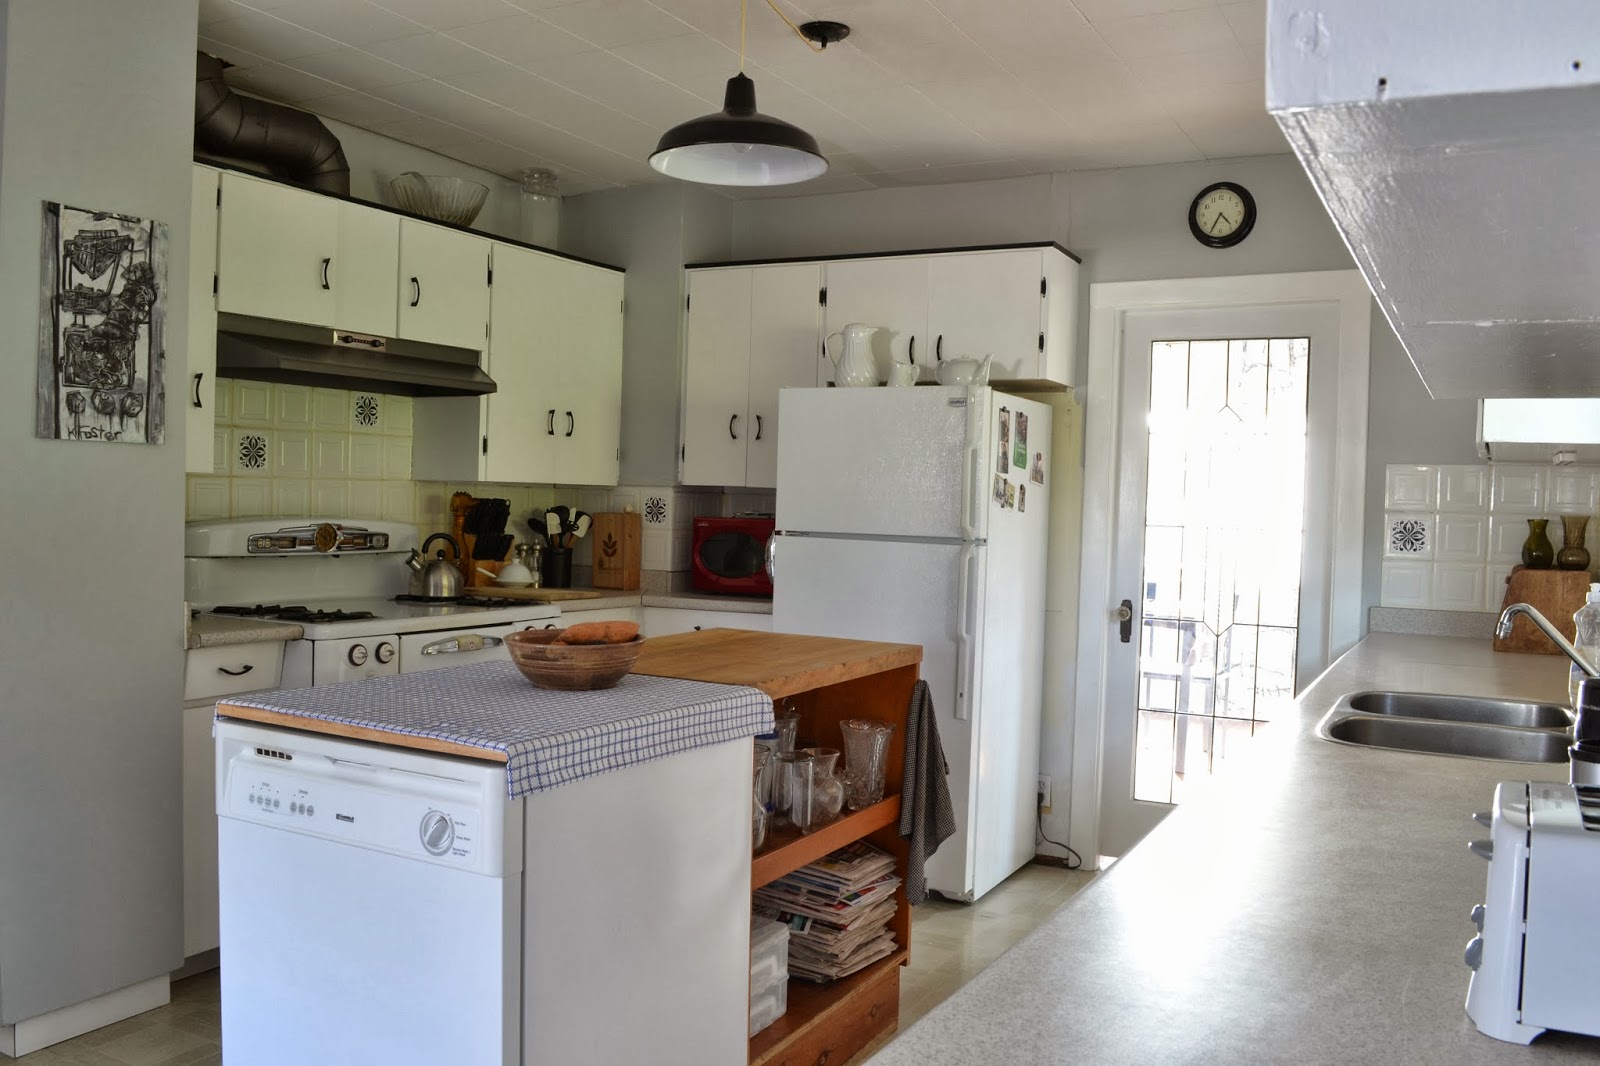
I would say that the outside of the bungalow has gone through the biggest transformation to date. We have been building buildings and weeding like crazy. We still have a ton of work to do and some pretty exciting plans for the future but for now things are definitely looking a lot tidier.
To recap....below is how the front of the property looked about a month before we moved in. The random fence panel still makes me giggle.
FRONT YARD ~ BEFORE
And the next three photos were taken the day we were given the keys. You can definitely see a difference in neglect. Clearly the previous owners weren't too concerned about the property after they had finally sold it. The broken garbage can is a nice touch.
FRONT YARD ~ PROGRESS
And this is how the front of the bungalow looks now. Happier and healthier I would say.
We are finally getting a handle on the weeds out front. They are still scattered through out the lawn and in the grass close to the road but they are far more manageable now. We so far have cleaned up the front porch, re-painted the number sign, chucked the screen door and moved the mailbox to the side.
We dug out all of the stumps left from the hedging and grass seeded along the front. Planted Mr. Roboto last October and cleaned up the front flower beds. Recently we built a vegetable garden and re-painted the shed.
Probably the biggest change is the new garage you see poking out behind the left side of the bungalow. The garage will have it's own post which should be making an appearance soon.
I took these recent photos just as the sun was setting. Our shadows in the photo above add a bit charm I think ;)
The chain link fence still stands but I have been itching for months to rip that thing out. I believe the time is nye. I have been dreaming of a new fence for a long time and I am probably going to be more excited the necessary when I am finally given the green light to make it happen. For now I will continue weeding the empty flower bed. We haven't planted anything here yet because when the fence goes this goes as well.
To back up the bus even further than the month before we took possession and the day we got the keys, below is how the bungalow looked from the street when we first viewed the property.
What bungalow you ask?
The property started out almost fully surrounded by the hedges. The bungalow couldn't be seen from the road unless you stopped to catch a glimpse over the random fence panel. It was entombed in it's own little hedge fortress. Naturally it made the property feel really private when inside and I was initially devastated when we were told the alleged news that the City ordered the front hedges to come down. The neighbours took the hedges down between the two properties a little while before hand. I did get over it and realized that the bungalow gets so much more natural light now and can now stand proud as a member of the street after being hidden for so many years.
Photos taken from Google Maps.
The funny thing is I remember driving by the house on numerous occasions when we were out looking at other properties in the area, seeing the For Sale signs and wondering what the house looked like behind the hedge. It wasn't until our Realtor sent us the listing that I put two and two together and the rest is history!